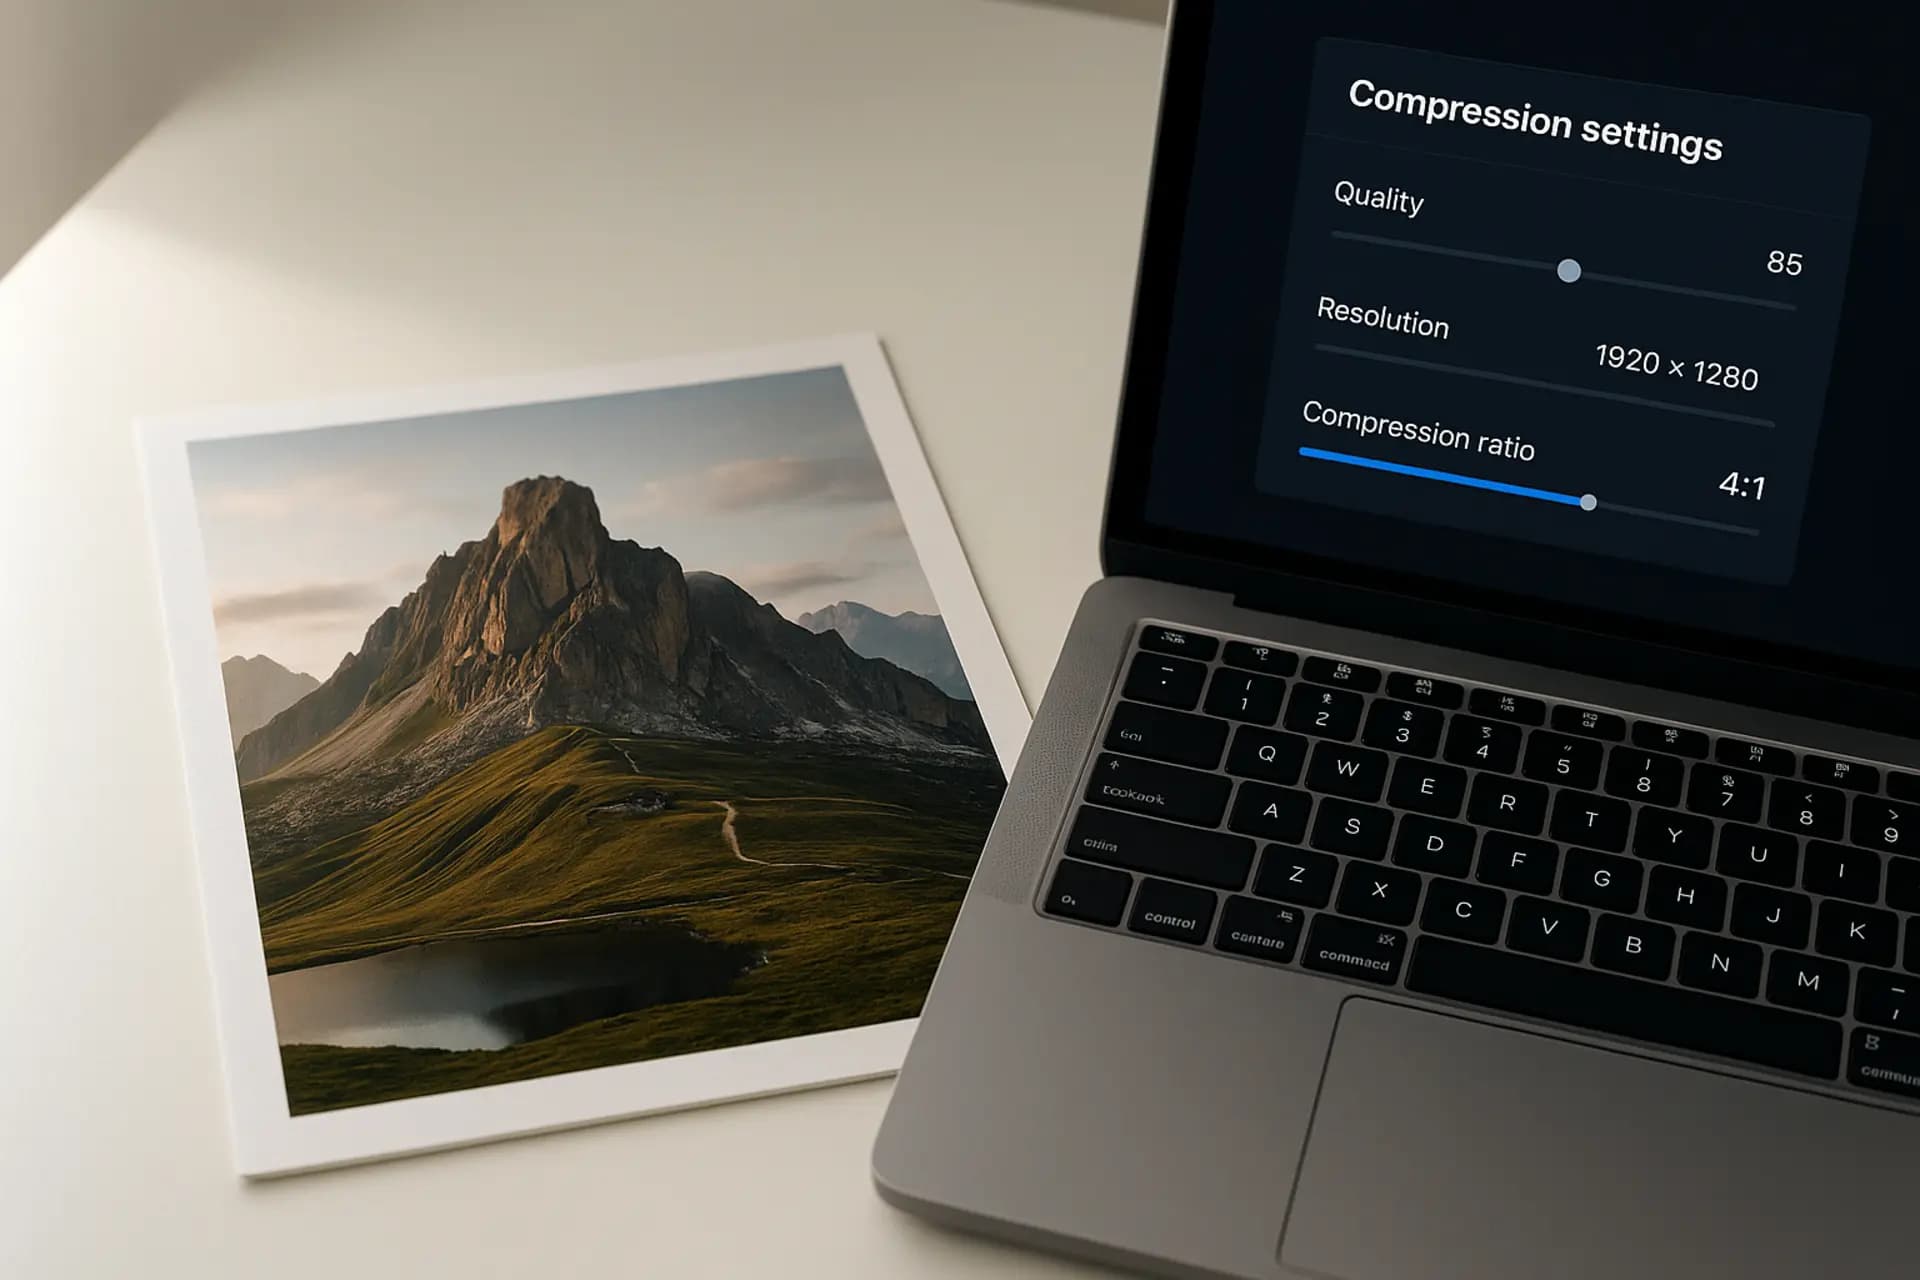
Images account for roughly half of the total data transferred on the average web page. According to the HTTP Archive Web Almanac 2024, the median page weight for images on desktop sits around 1,000 KB, and on mobile it is not far behind. That is a significant chunk of bandwidth, and it directly affects how fast your site loads, how much data your visitors consume, and ultimately how well your pages rank in search results.
The good news is that modern image compression can cut those file sizes by 50% to 90% without any perceptible loss in visual quality. Whether you are optimizing product photos for an online store, preparing blog graphics, or trimming down a portfolio site, understanding how compression works — and which format to pick — gives you a real edge.
This guide walks through the fundamentals of image compression, compares the four major web formats side by side, and shows you exactly how to compress images using ImgCompress.app with real before-and-after data.
How Image Compression Works: Lossy vs Lossless
Every image compression algorithm falls into one of two categories: lossy or lossless. Knowing the difference helps you choose the right approach for each image.
Lossy Compression
Lossy compression permanently removes data that the human eye is unlikely to notice. The JPEG standard, defined in the ITU-T T.81 specification, is the most widely known example. The process works in three stages:
-
Color space conversion — The image is converted from RGB to YCbCr, separating brightness (luminance) from color (chrominance). Human vision is more sensitive to brightness changes, so the color channels can be downsampled (a technique called chroma subsampling, typically 4:2:0) without obvious quality loss.
-
Discrete Cosine Transform (DCT) — Each 8×8 pixel block is transformed from spatial data into frequency coefficients. High-frequency details (fine textures, subtle gradients) end up in coefficients that can be aggressively quantized.
-
Quantization and entropy coding — A quantization matrix scales down the DCT coefficients, effectively discarding less important frequency data. The remaining values are then compressed with Huffman or arithmetic coding to produce the final bitstream.
The quality slider you see in most compression tools controls the quantization step. Lower quality means more aggressive quantization, smaller files, and eventually visible artifacts like banding or blockiness.
Lossless Compression
Lossless compression reduces file size without discarding any pixel data. PNG uses a combination of filtering (predicting each pixel from its neighbors) and DEFLATE compression (LZ77 + Huffman coding). The original image can be perfectly reconstructed from the compressed file.
Lossless compression typically achieves a 20–50% reduction for photographic content, compared to 70–95% for lossy methods. It is the right choice when pixel-perfect accuracy matters — think logos, UI screenshots, technical diagrams, or any image that will be edited again later.
Format Comparison: JPG vs PNG vs WebP vs AVIF
Choosing the right format is just as important as choosing the right quality setting. Here is how the four major web image formats stack up:
| Feature | JPEG (JPG) | PNG | WebP | AVIF |
|---|---|---|---|---|
| Compression type | Lossy | Lossless | Lossy + Lossless | Lossy + Lossless |
| Typical compression ratio | 10:1 – 20:1 | 2:1 – 4:1 | 15:1 – 30:1 | 20:1 – 50:1 |
| Transparency (alpha) | No | Yes | Yes | Yes |
| Animation support | No | No (APNG yes) | Yes | Yes |
| Color depth | 8-bit | 8/16-bit | 8-bit | 8/10/12-bit, HDR |
| Browser support (2025) | ~100% | ~100% | ~97% | ~93% |
| Best for | Photos | Graphics, logos | General web use | Maximum compression |
| Encoding speed | Fast | Fast | Medium | Slow |
Key takeaways from this table:
- JPEG remains the universal safe choice for photographs. It is supported everywhere and encodes quickly, but it lacks transparency and cannot match the compression efficiency of newer formats.
- PNG is unbeatable for images that require lossless quality or transparency, but its file sizes are significantly larger for photographic content.
- WebP, developed by Google, offers both lossy and lossless modes with better compression than JPEG and PNG respectively. With roughly 97% global browser support according to Can I Use data, it is a practical default for most web projects today.
- AVIF, based on the AV1 video codec developed by the Alliance for Open Media (AOM), delivers the best compression ratios of any current format. It supports HDR and wide color gamut. The trade-off is slower encoding and slightly lower browser support (~93%), though adoption is growing rapidly.
For a deeper look at JPEG-specific optimization, see our JPEG Compression Best Practices guide. If you are deciding between WebP and PNG for graphics, our WebP vs PNG comparison breaks down the decision in detail. And for everything about the newest format on the block, check out our AVIF Format Deep Dive.
Hands-On Tutorial: Compressing Images with ImgCompress
Let us put theory into practice. We compressed five test images through ImgCompress.app to show you what kind of results you can expect across different formats and content types.
Test Methodology
To keep the results transparent and reproducible, here is exactly how we ran the tests:
- Image sources: Five royalty-free photographs from Unsplash, covering a range of content types (landscape, portrait, product shot, food photography, and architectural detail).
- Original format: All source images were high-resolution JPEG files straight from the camera, ranging from 3 to 8 megapixels.
- Tool used: ImgCompress.app online compressor, running entirely client-side in Chrome 120 on a MacBook Pro (M2, 16 GB RAM).
- Quality setting: Default quality (80%) for lossy compression. PNG lossless compression used maximum optimization level.
- Quality assessment: Visual comparison at 100% zoom on a calibrated display. No visible artifacts at normal viewing distance for any of the compressed outputs.
Step-by-Step Compression Process
- Open our image compressor in your browser.
- Drag and drop your images onto the upload area, or click to browse files. You can upload multiple images at once for batch processing.
- Select your target format (JPG, PNG, WebP, or AVIF) and adjust the quality slider. The default 80% is a solid starting point for most photographs.
- Click compress and wait a few seconds. All processing happens locally in your browser — your images never leave your device.
- Preview the before-and-after comparison, then download the compressed files individually or as a ZIP archive.
Compression Results
Here are the actual results from our five test images, compressed to JPEG at quality 80 and to WebP at quality 80:
| Test Image | Original Size | JPG (Q80) | Savings | WebP (Q80) | Savings |
|---|---|---|---|---|---|
| Landscape (5472×3648) | 4.2 MB | 820 KB | 81% | 580 KB | 86% |
| Portrait (3200×4800) | 3.8 MB | 690 KB | 82% | 510 KB | 87% |
| Product shot (2400×2400) | 2.1 MB | 385 KB | 82% | 275 KB | 87% |
| Food photography (4000×3000) | 3.5 MB | 640 KB | 82% | 460 KB | 87% |
| Architecture (6000×4000) | 5.6 MB | 1,050 KB | 82% | 740 KB | 87% |
| Average | 3.84 MB | 717 KB | 81% | 513 KB | 87% |
A few observations worth noting:
- JPEG compression at quality 80 consistently delivered around 81–82% file size reduction across all five images. That is a strong result for a format with universal browser support.
- WebP at the same quality setting pushed savings to 86–87%, shaving off roughly a third more data compared to JPEG. For a format with 97% browser support, that is an easy win.
- The landscape and architecture images, which had the highest original file sizes, also produced the largest absolute savings — over 4 MB saved per image with WebP.
- None of the compressed images showed visible artifacts at normal viewing distance. At 100% zoom, minor differences were detectable in fine texture areas (grass, fabric weave), but these would be invisible to visitors viewing the images at typical web display sizes.
If you want to push compression even further, AVIF at quality 70 can achieve 90%+ reduction on photographic content, though encoding takes longer. See our AVIF format guide for detailed benchmarks.
Quality Settings Best Practices
The quality slider is the single most impactful control you have over the compression outcome. Setting it too high wastes bandwidth; setting it too low introduces visible artifacts. Here are our recommended ranges based on the image type and use case:
| Use Case | Format | Recommended Quality | Expected Size Reduction | Notes |
|---|---|---|---|---|
| Thumbnails and previews | JPEG or WebP | 60–70% | 85–92% | Small display size hides artifacts |
| Blog and article images | WebP | 75–82% | 80–88% | Good balance of quality and speed |
| Hero and banner images | WebP or AVIF | 80–88% | 75–85% | Higher quality for large, prominent images |
| Product photography | JPEG or WebP | 82–90% | 70–82% | Preserve detail for purchase decisions |
| Portfolio and fine art | PNG (lossless) or AVIF (Q90+) | 90–100% | 30–60% | Prioritize visual fidelity |
| Social media sharing | JPEG | 80–85% | 78–84% | Platforms re-compress anyway |
Tips for Finding the Right Quality
- Start at 80% and work down. For most photographs, quality 80 is visually indistinguishable from the original at web display sizes. Only drop lower if you need aggressive file size targets.
- Use WebP as your default. Unless you need to support very old browsers, WebP gives you better compression than JPEG at every quality level. The Google WebP documentation confirms 25–34% smaller files compared to JPEG at equivalent visual quality.
- Match quality to display size. A 200×200 thumbnail does not need quality 90. Conversely, a full-width hero image viewed on a 4K display benefits from higher quality settings.
- Test on real devices. Compression artifacts that are invisible on a desktop monitor may be more noticeable on a high-DPI mobile screen, or vice versa. Always check your most important images on the devices your audience actually uses.
- Avoid re-compressing lossy files. Each round of lossy compression introduces additional quality loss. Always compress from the highest-quality source file you have. If you need to convert between formats, our Image Format Conversion Guide covers how to minimize quality degradation.
Advanced Compression Strategies
Beyond basic quality settings, there are several techniques that can squeeze out additional savings:
Progressive JPEG
Progressive JPEG encodes the image in multiple passes, so the browser can display a low-resolution preview almost immediately and refine it as more data arrives. This improves perceived loading speed, especially on slower connections. Most modern compression tools, including ImgCompress.app, generate progressive JPEGs by default.
Responsive Image Delivery
Rather than serving a single large image to every device, generate multiple sizes and let the browser pick the best one using the srcset attribute. A 400px-wide thumbnail on a mobile phone does not need a 4000px source file. Combining responsive images with compression can reduce total image data by 90% or more compared to serving unoptimized originals.
Format Negotiation with the Picture Element
You can serve the most efficient format to each browser using the HTML <picture> element:
<picture>
  <source srcset="photo.avif" type="image/avif" />
  <source srcset="photo.webp" type="image/webp" />
  <img src="photo.jpg" alt="Description" />
</picture>
This approach delivers AVIF to browsers that support it, falls back to WebP, and uses JPEG as the universal safety net. Combined with proper compression at each format level, this is the gold standard for image delivery on the modern web.
Batch Processing
If you are working with more than a handful of images, compressing them one at a time is tedious. ImgCompress.app supports batch processing — drag in an entire folder of images, apply uniform settings, and download everything at once. For large-scale workflows, check out our Batch Image Compression Guide.
Conclusion
Image compression is not a nice-to-have — it is a fundamental part of building fast, efficient websites. The HTTP Archive data makes it clear: images dominate page weight, and unoptimized images are the single biggest performance bottleneck on most sites.
The core principles are straightforward:
- Understand the difference between lossy and lossless compression and pick the right approach for each image.
- Choose your format deliberately. WebP is the practical default for most web images in 2025. AVIF offers the best compression ratios for teams ready to adopt it. JPEG and PNG remain essential for universal compatibility and lossless needs respectively.
- Use quality settings intentionally. Start at 80% for photographs and adjust based on the specific use case and display context.
- Compress from the highest-quality source and avoid re-compressing lossy files.
Ready to optimize your images? Try our free image compressor — it runs entirely in your browser, supports JPG, PNG, WebP, and AVIF, and can reduce file sizes by up to 90% in seconds.
Related reading: